
Why We Transformed Our Home’s Exterior (and What Had to Come Down First)

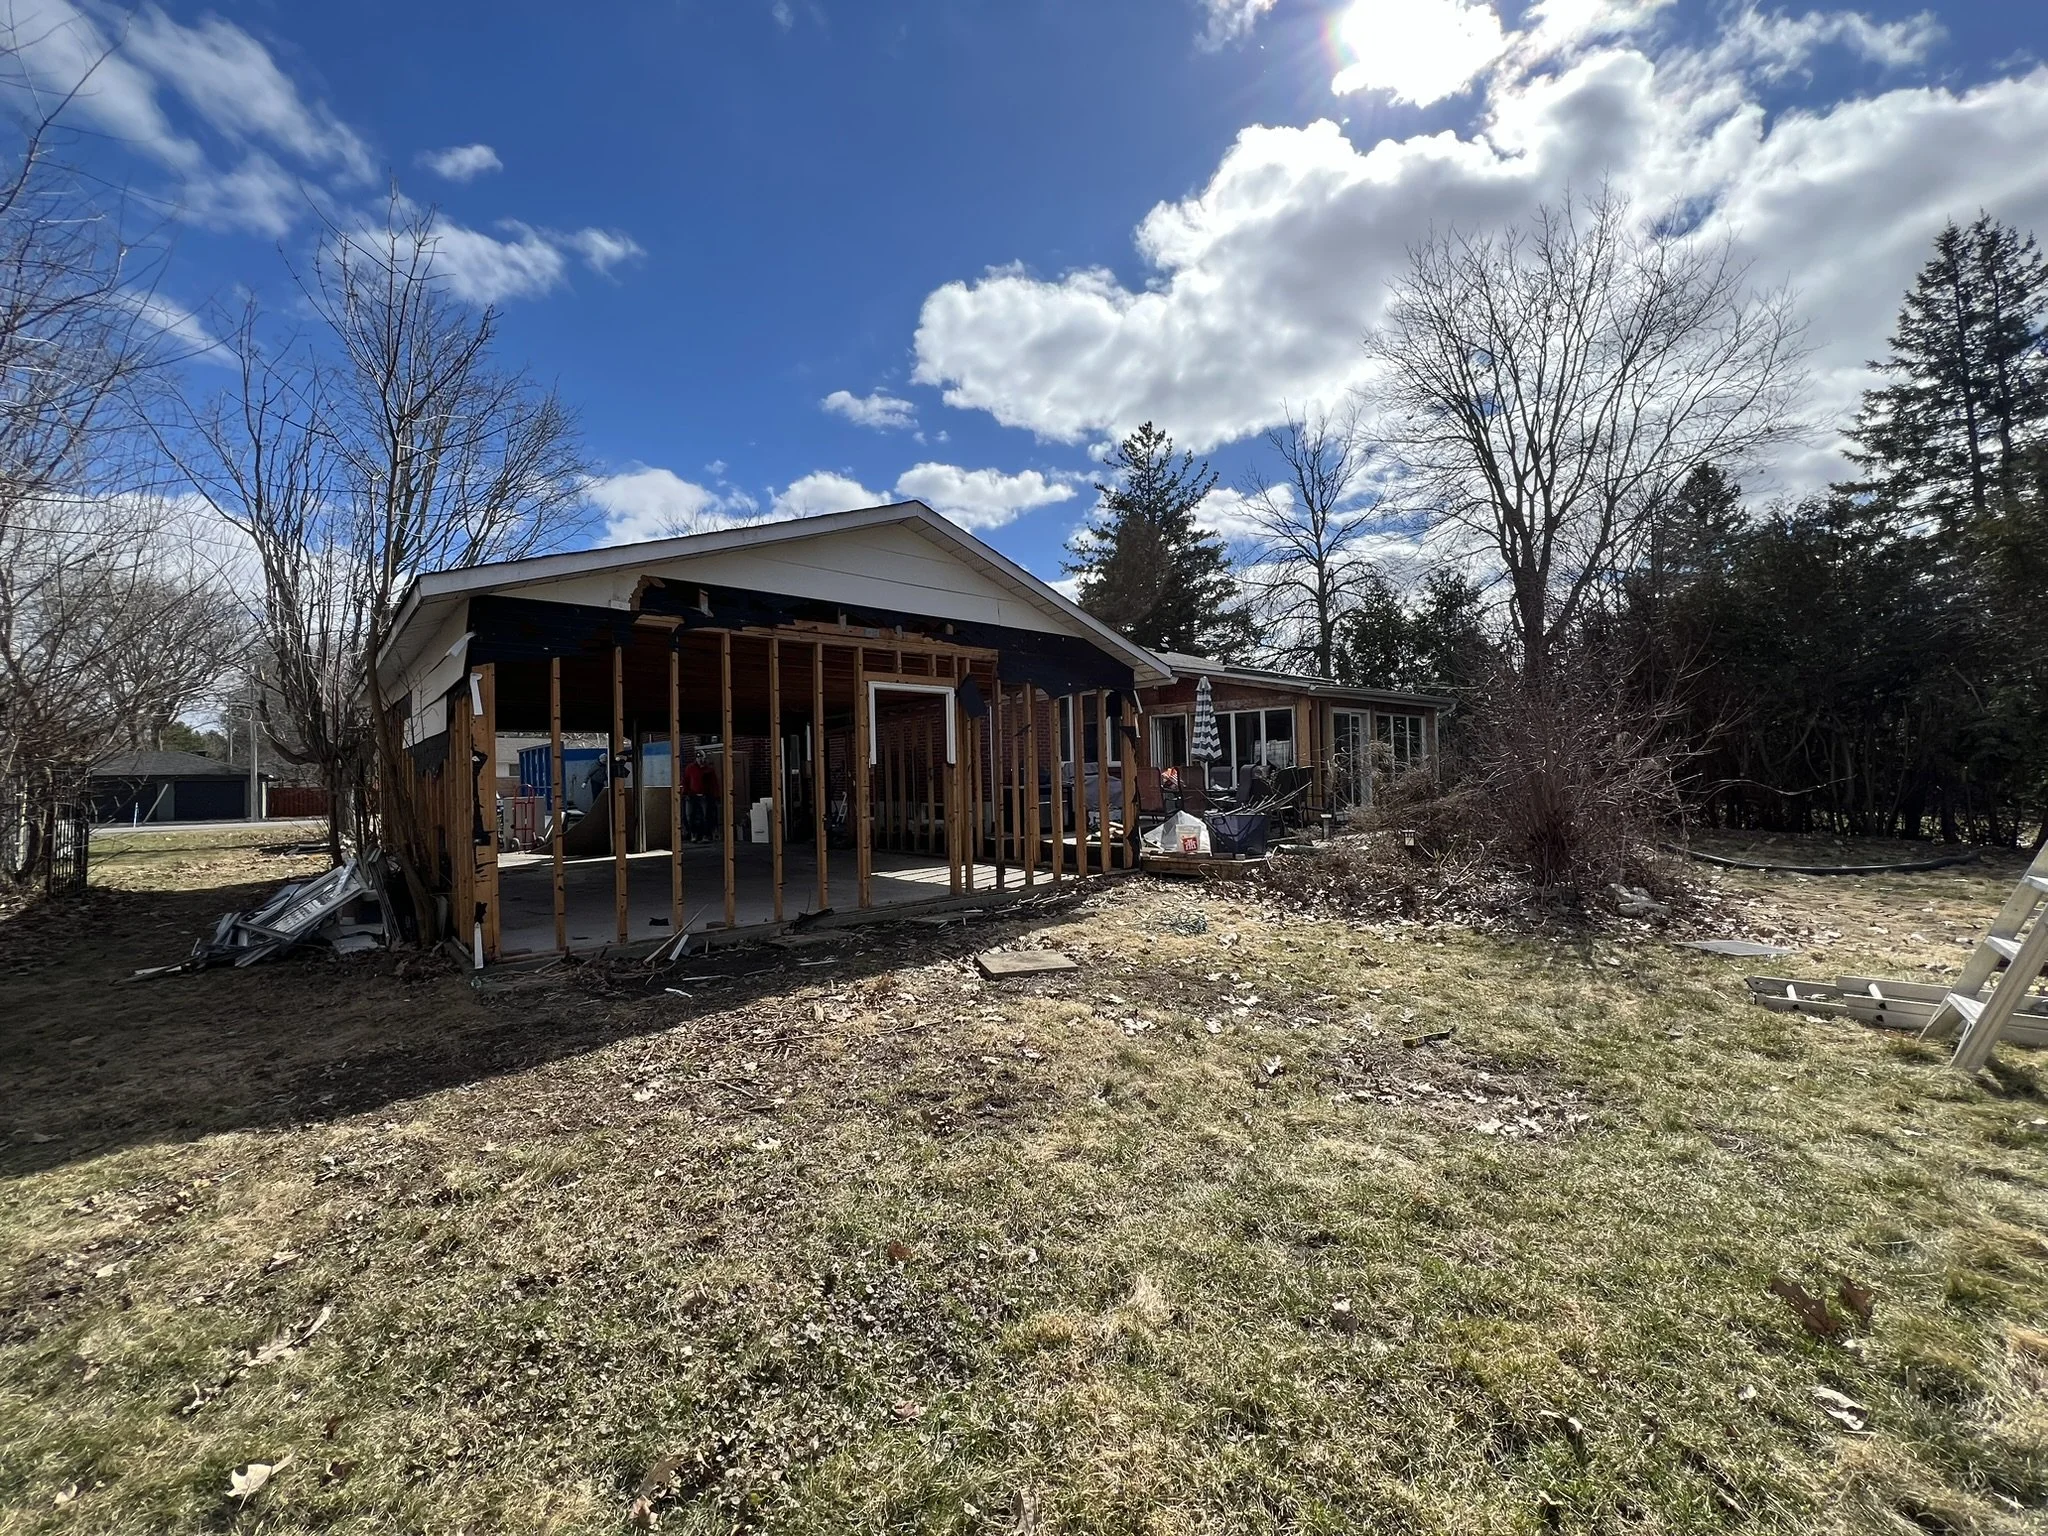
Our starting point — the original front of the house, full of potential (and future plans)
Renovating the outside of your home can feel deceptively simple — until you realize what needs to come down before anything beautiful can go back up. In this post, I’m walking through the first stage of our home’s exterior transformation: the planning, the porch demo, the surprises, and the smart decisions that set the foundation for everything that followed.
Buying a House With Big Plans
When we bought this house in October 2021, I knew from day one that big changes were coming. It was a sweet, quiet neighbourhood with river access (well… quiet until we discovered we were under a flight path — thanks, pandemic-era real estate!). The house sat on a lovely half-acre lot with tons of potential — but from the street, it just wasn’t me.
A 1960s red brick home with a small hip roof and a late-80s addition that didn’t quite match, it had zero curb appeal. The front step led straight into the house with no space to sit and chat with neighbours — and certainly no spot to enjoy a Friday night beer in the summer.
Oh yeah — AND — he roof leaked the first weekend we lived there.
Dreaming Bigger (and Bigger…)
From the moment we moved in, we knew the exterior would change. What started as “let’s just attach a garage” quickly morphed — one conversation at a time — into an entirely new footprint with living space over the garage, new porches, new flow… and a much bigger project than we’d first imagined.
The Emotional Side of the Project
Truthfully, this house was our “plan B.” We had dreamed of building a custom home on land — but COVID drove prices sky-high, and land wasn’t in the cards. When this property came up for a great price, we thought, “We can make this our own.”
We sold our old house for significantly more than this one cost and thought we were golden. (Spoiler alert: We were not. Renovation costs were a whole other story — thank you, Mr. Bank, for helping us borrow more money to keep going!)
Still, I wanted this house to feel comfy, timeless, warm, and inviting — like the dream homes I’d been pinning on Pinterest all through lockdown.
The First Things to Go: Garage & Sunroom
It didn’t take long to decide what had to come down first:
The detached garage was already leaning and lacked proper structural support (more on that later).
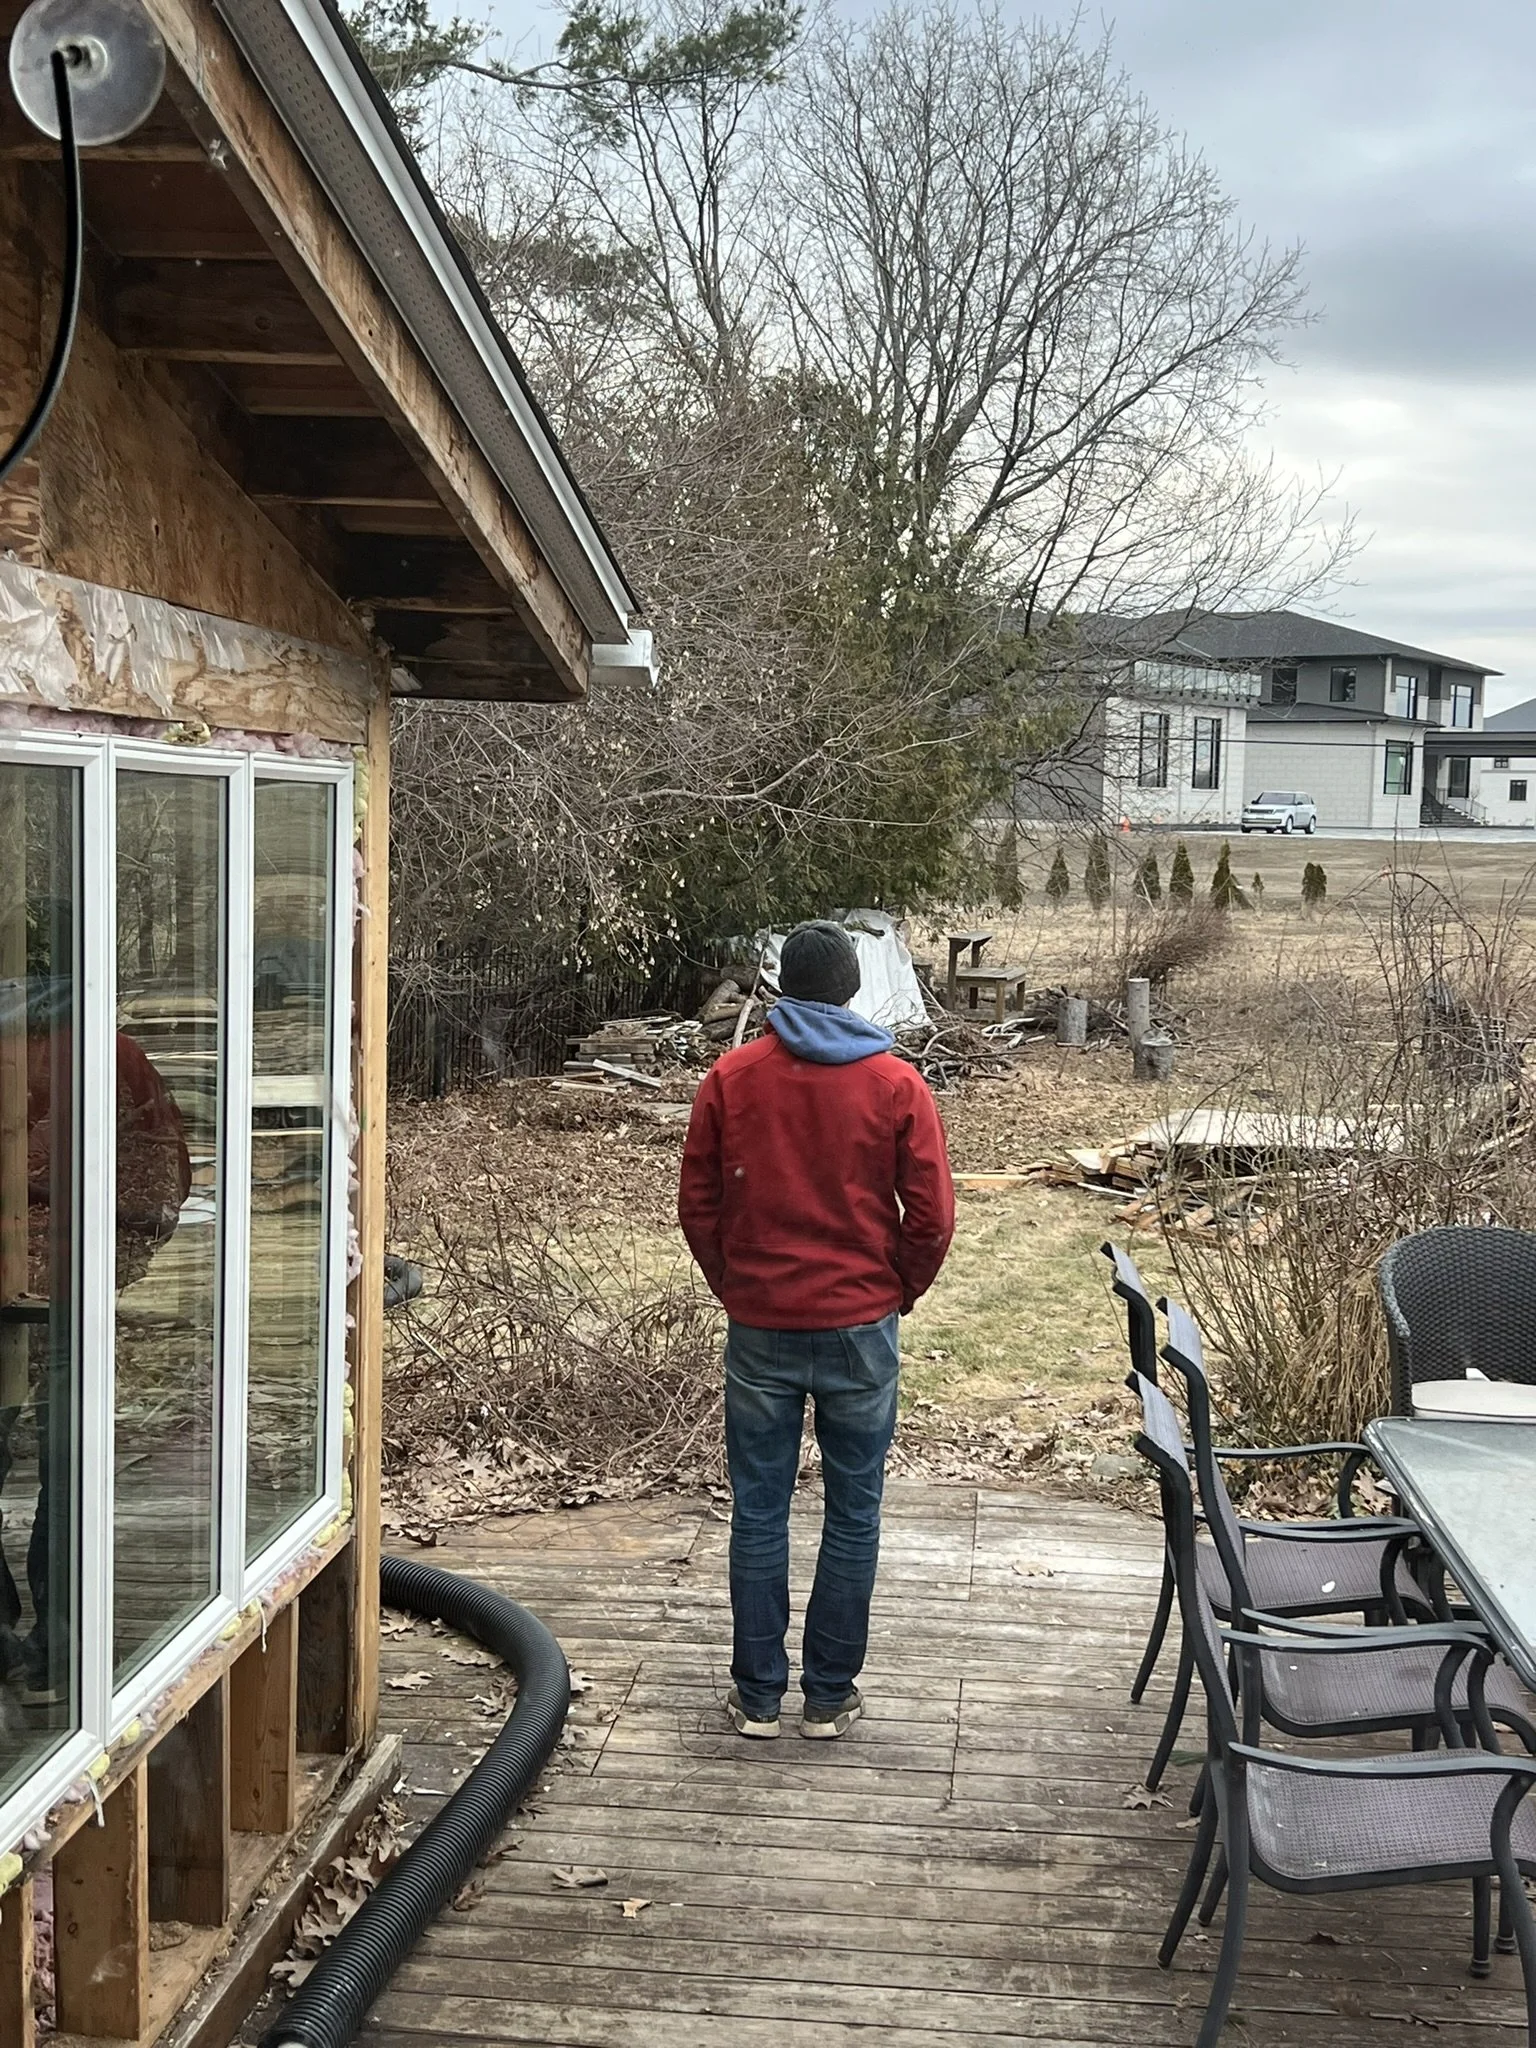
The back sunroom was tempting to keep, but questionable at best — built on a deck, with dubious roof tie-ins, and likely not structurally sound.

Left: Goodbye to the old garage — leaning a little more with every windstorm.
Right: The back sunroom — looked okay from the outside, but we had our doubts.
A Project That Kept Growing…
Before we even finalized our first design, we’d already decided to add living space over the new attached garage. That one decision meant everything else had to grow — the foundation, the septic (an expensive but necessary update), and the flow of the spaces.
At first, it was going to be simple: a garage, attach it to the house, done. But then one day, Chris (yes, my husband Chris — and yes, this was HIS idea!) casually suggested adding a second story over the garage. Did my ears hear right? That sparked dreams of a proper bathroom, a big closet, and no more clothes spread across three rooms. And here we are.
One of many moments where I caught Chris thinking: What have we done?
Living Through It All
While we waited for the final plans and permits, we tackled smaller indoor projects first — ones I could submit permits for myself. Once we were finally ready to start the big work, we did all the demo ourselves with the help of family and friends.
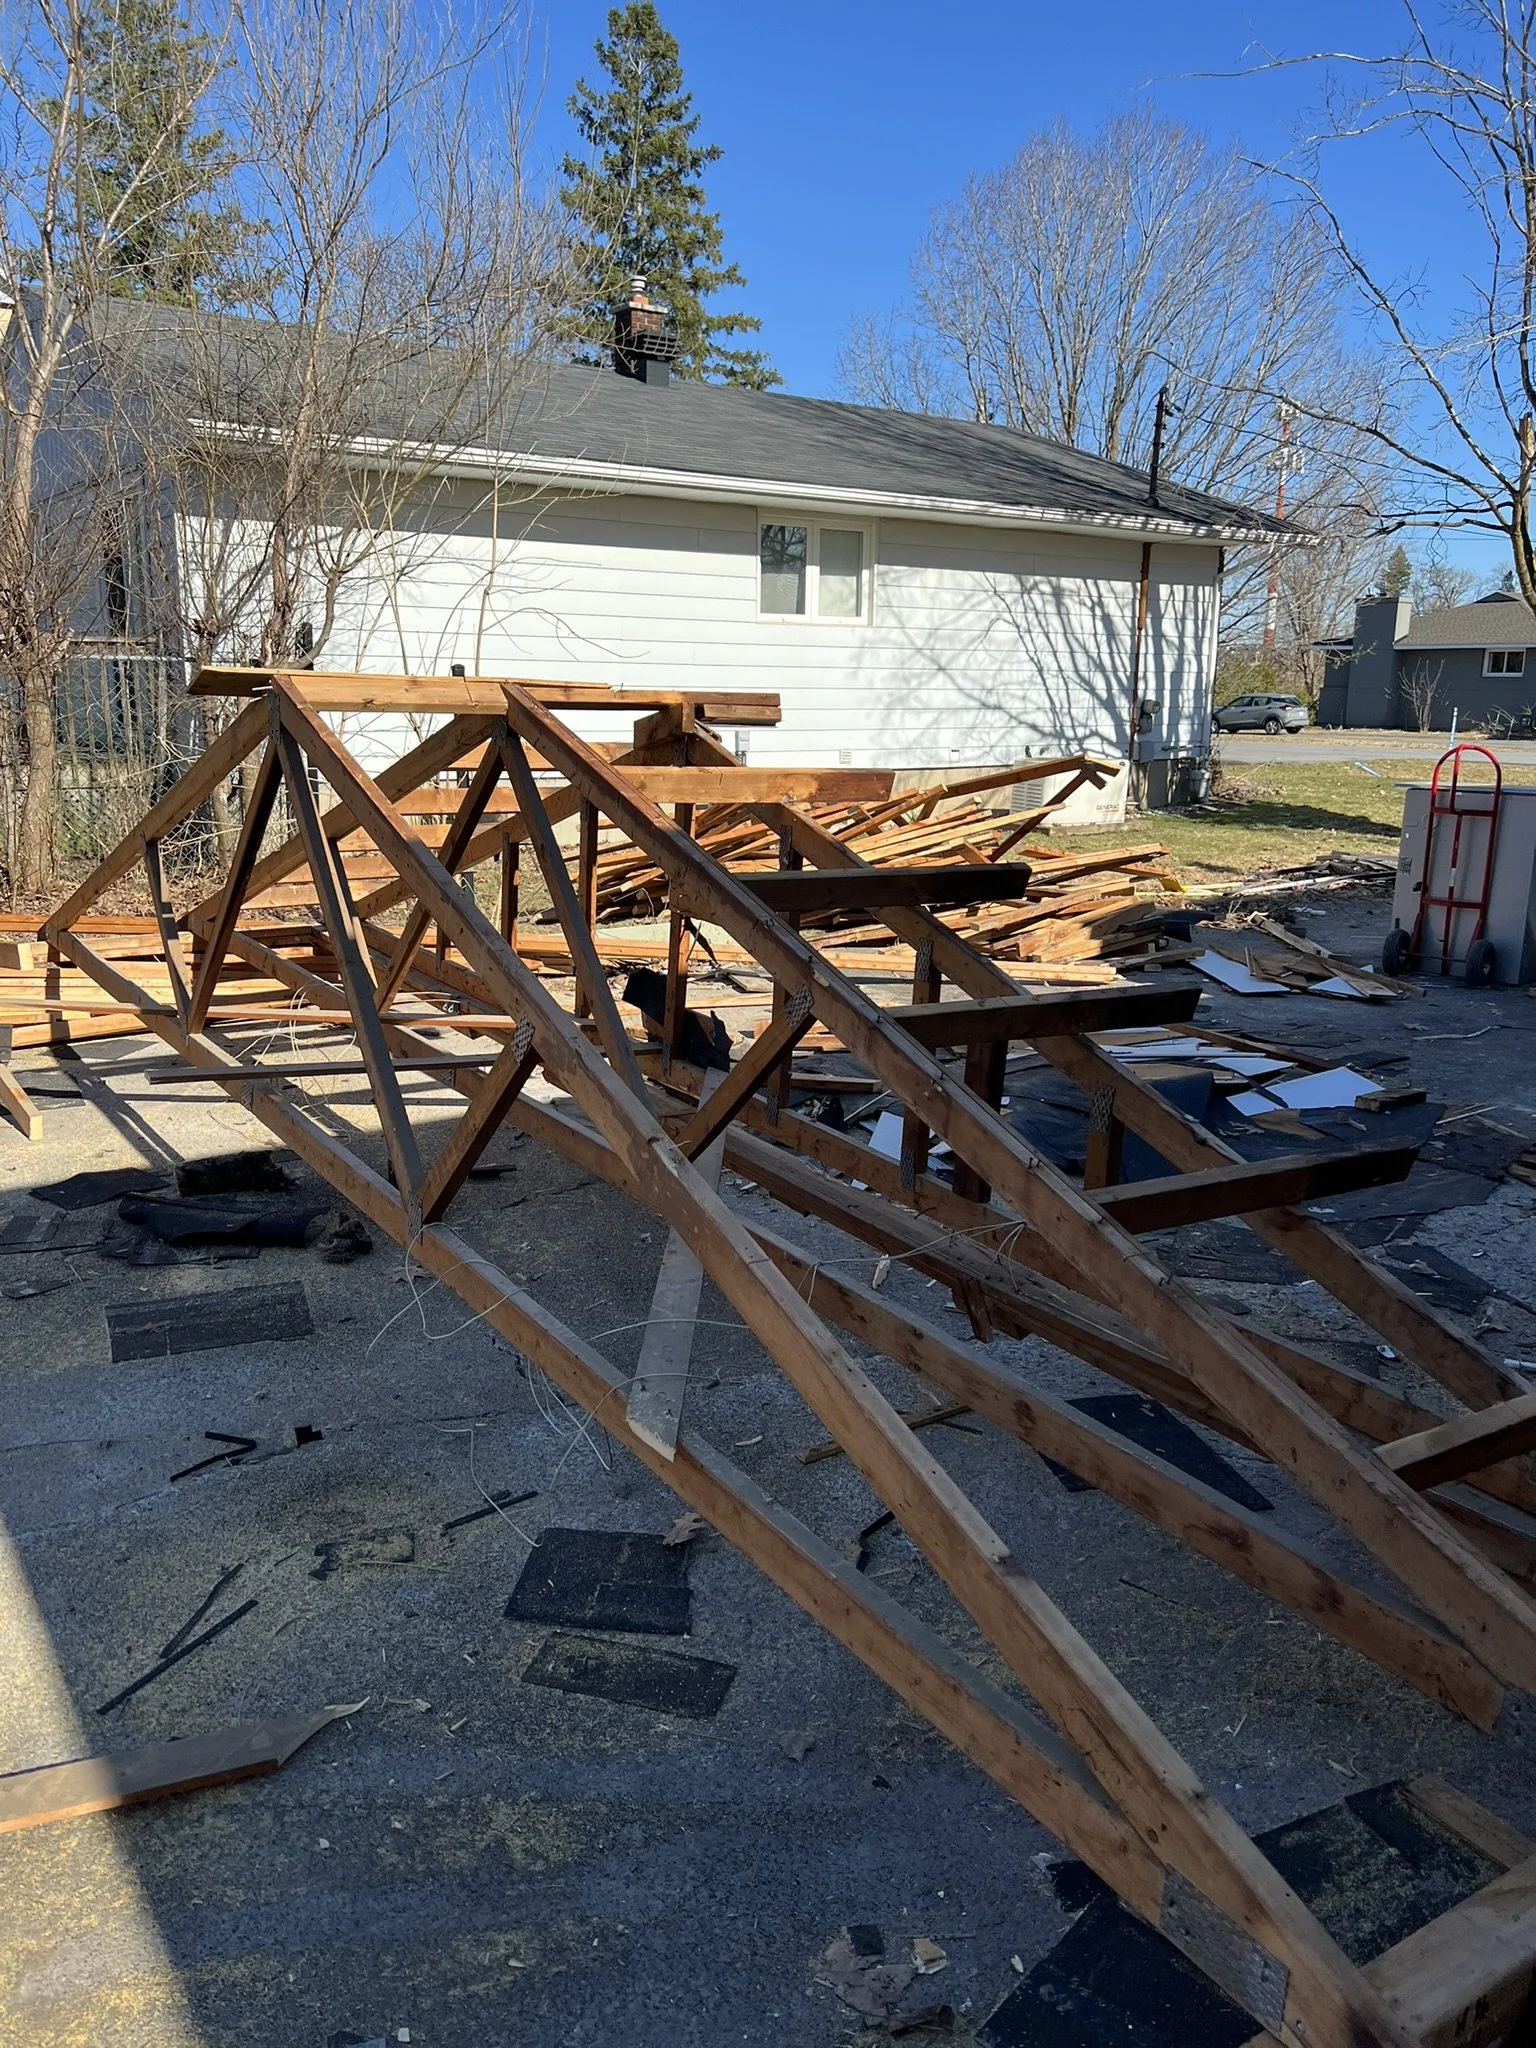
Garage Demo day — making it happen with a lot of sweat (and a little bit of pizza bribery).
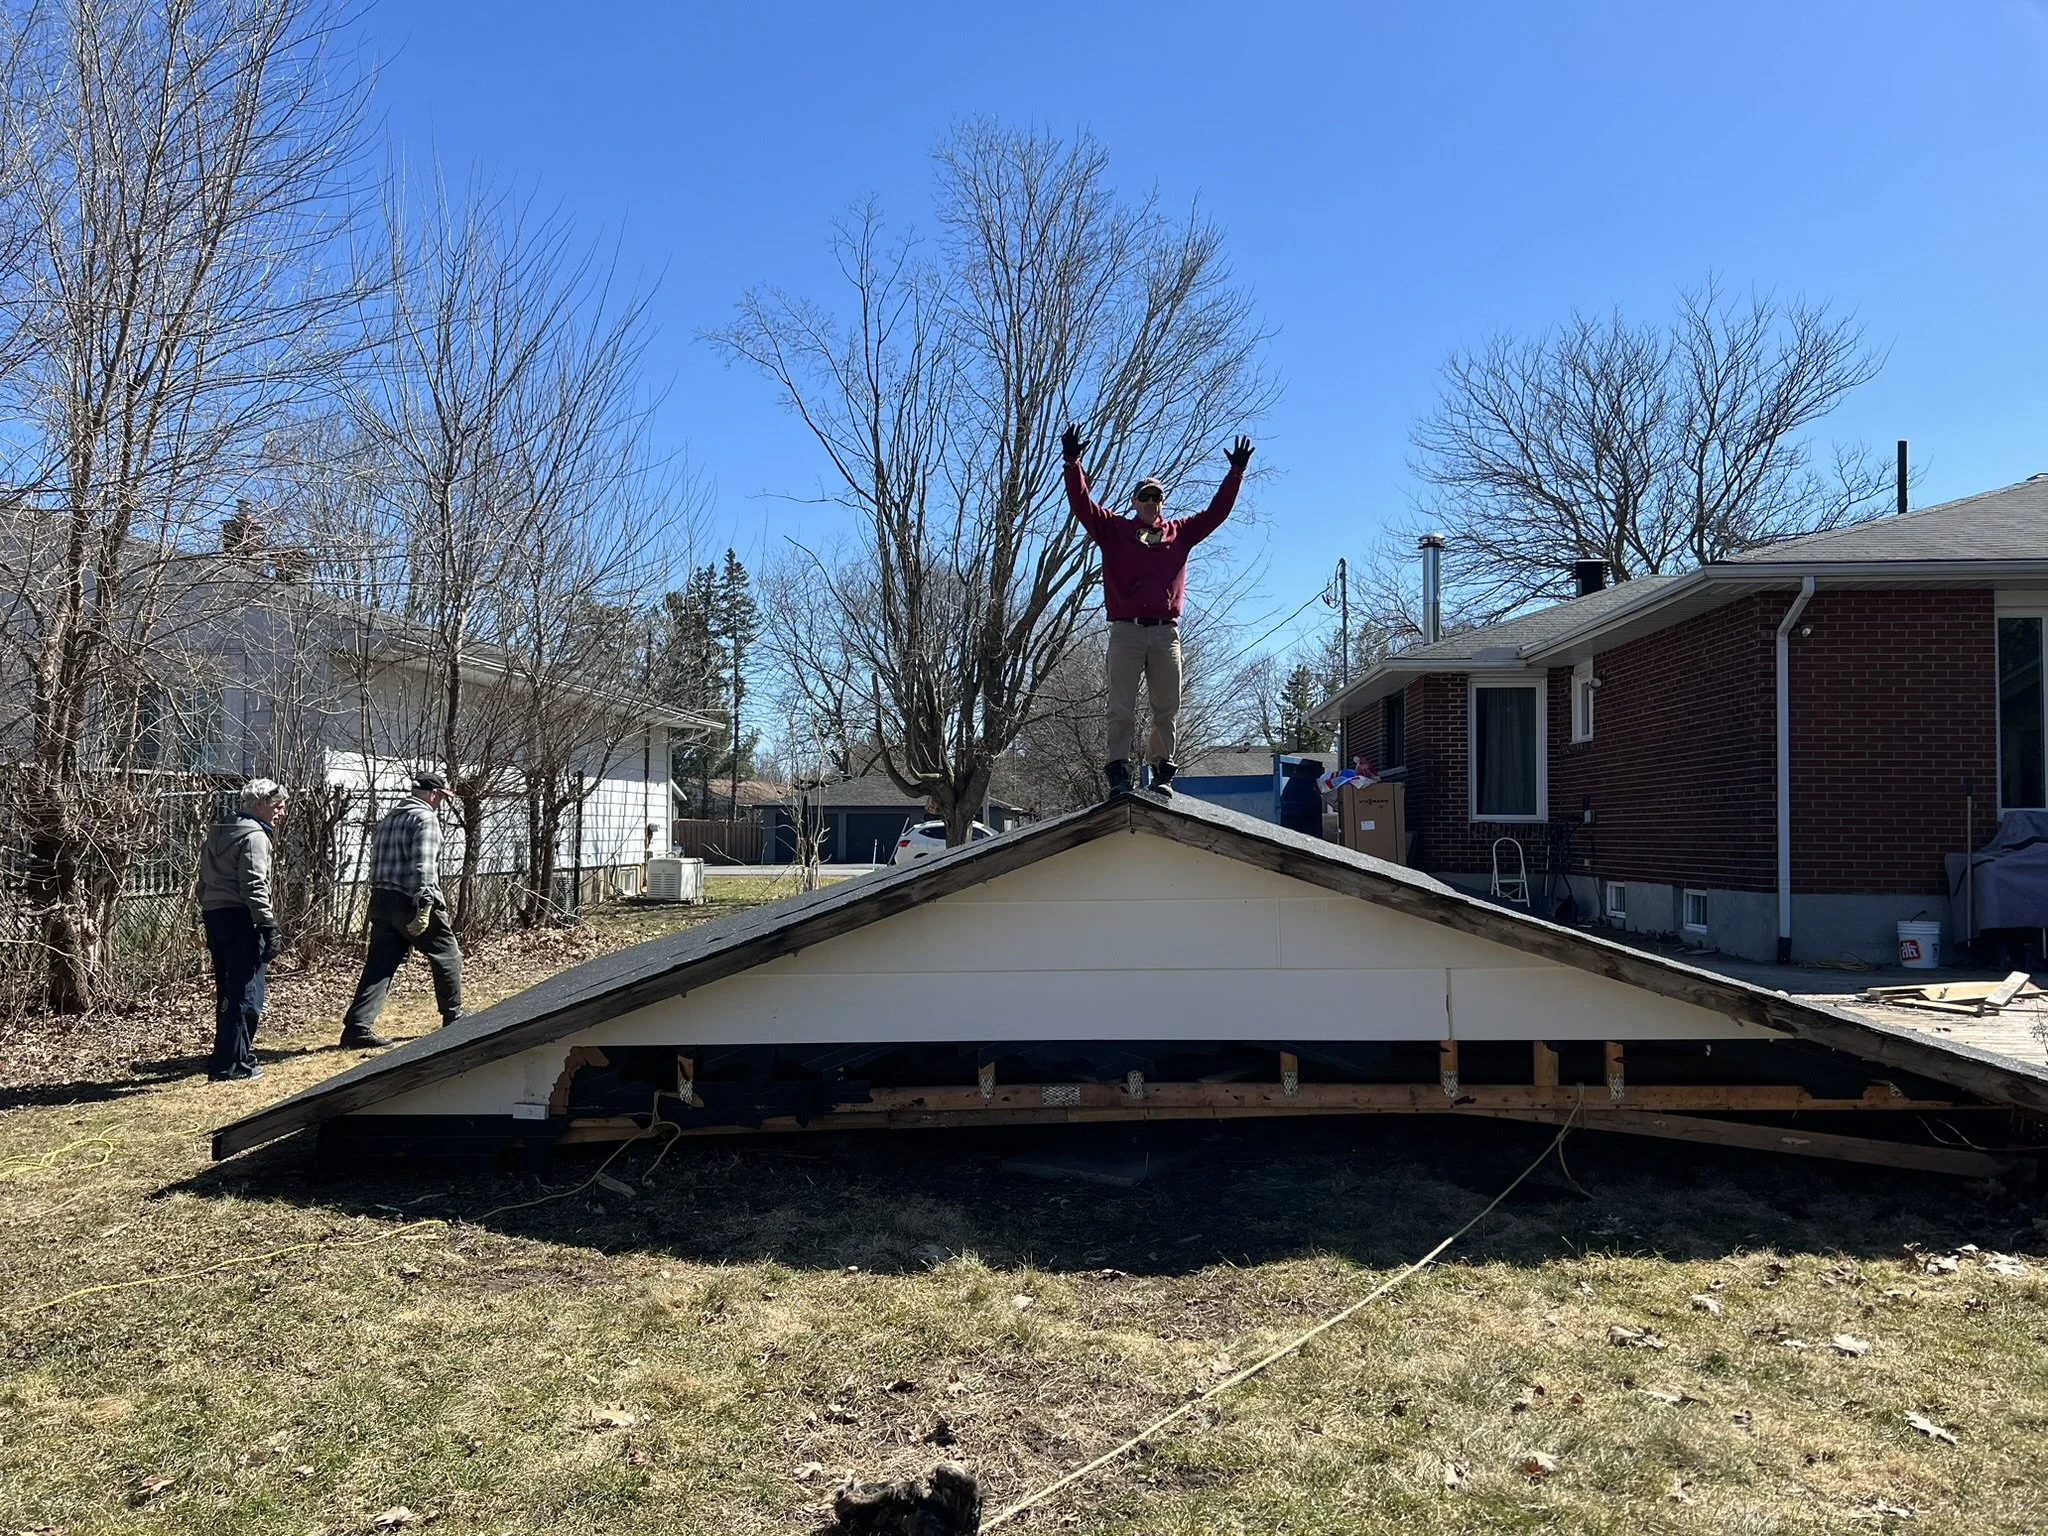
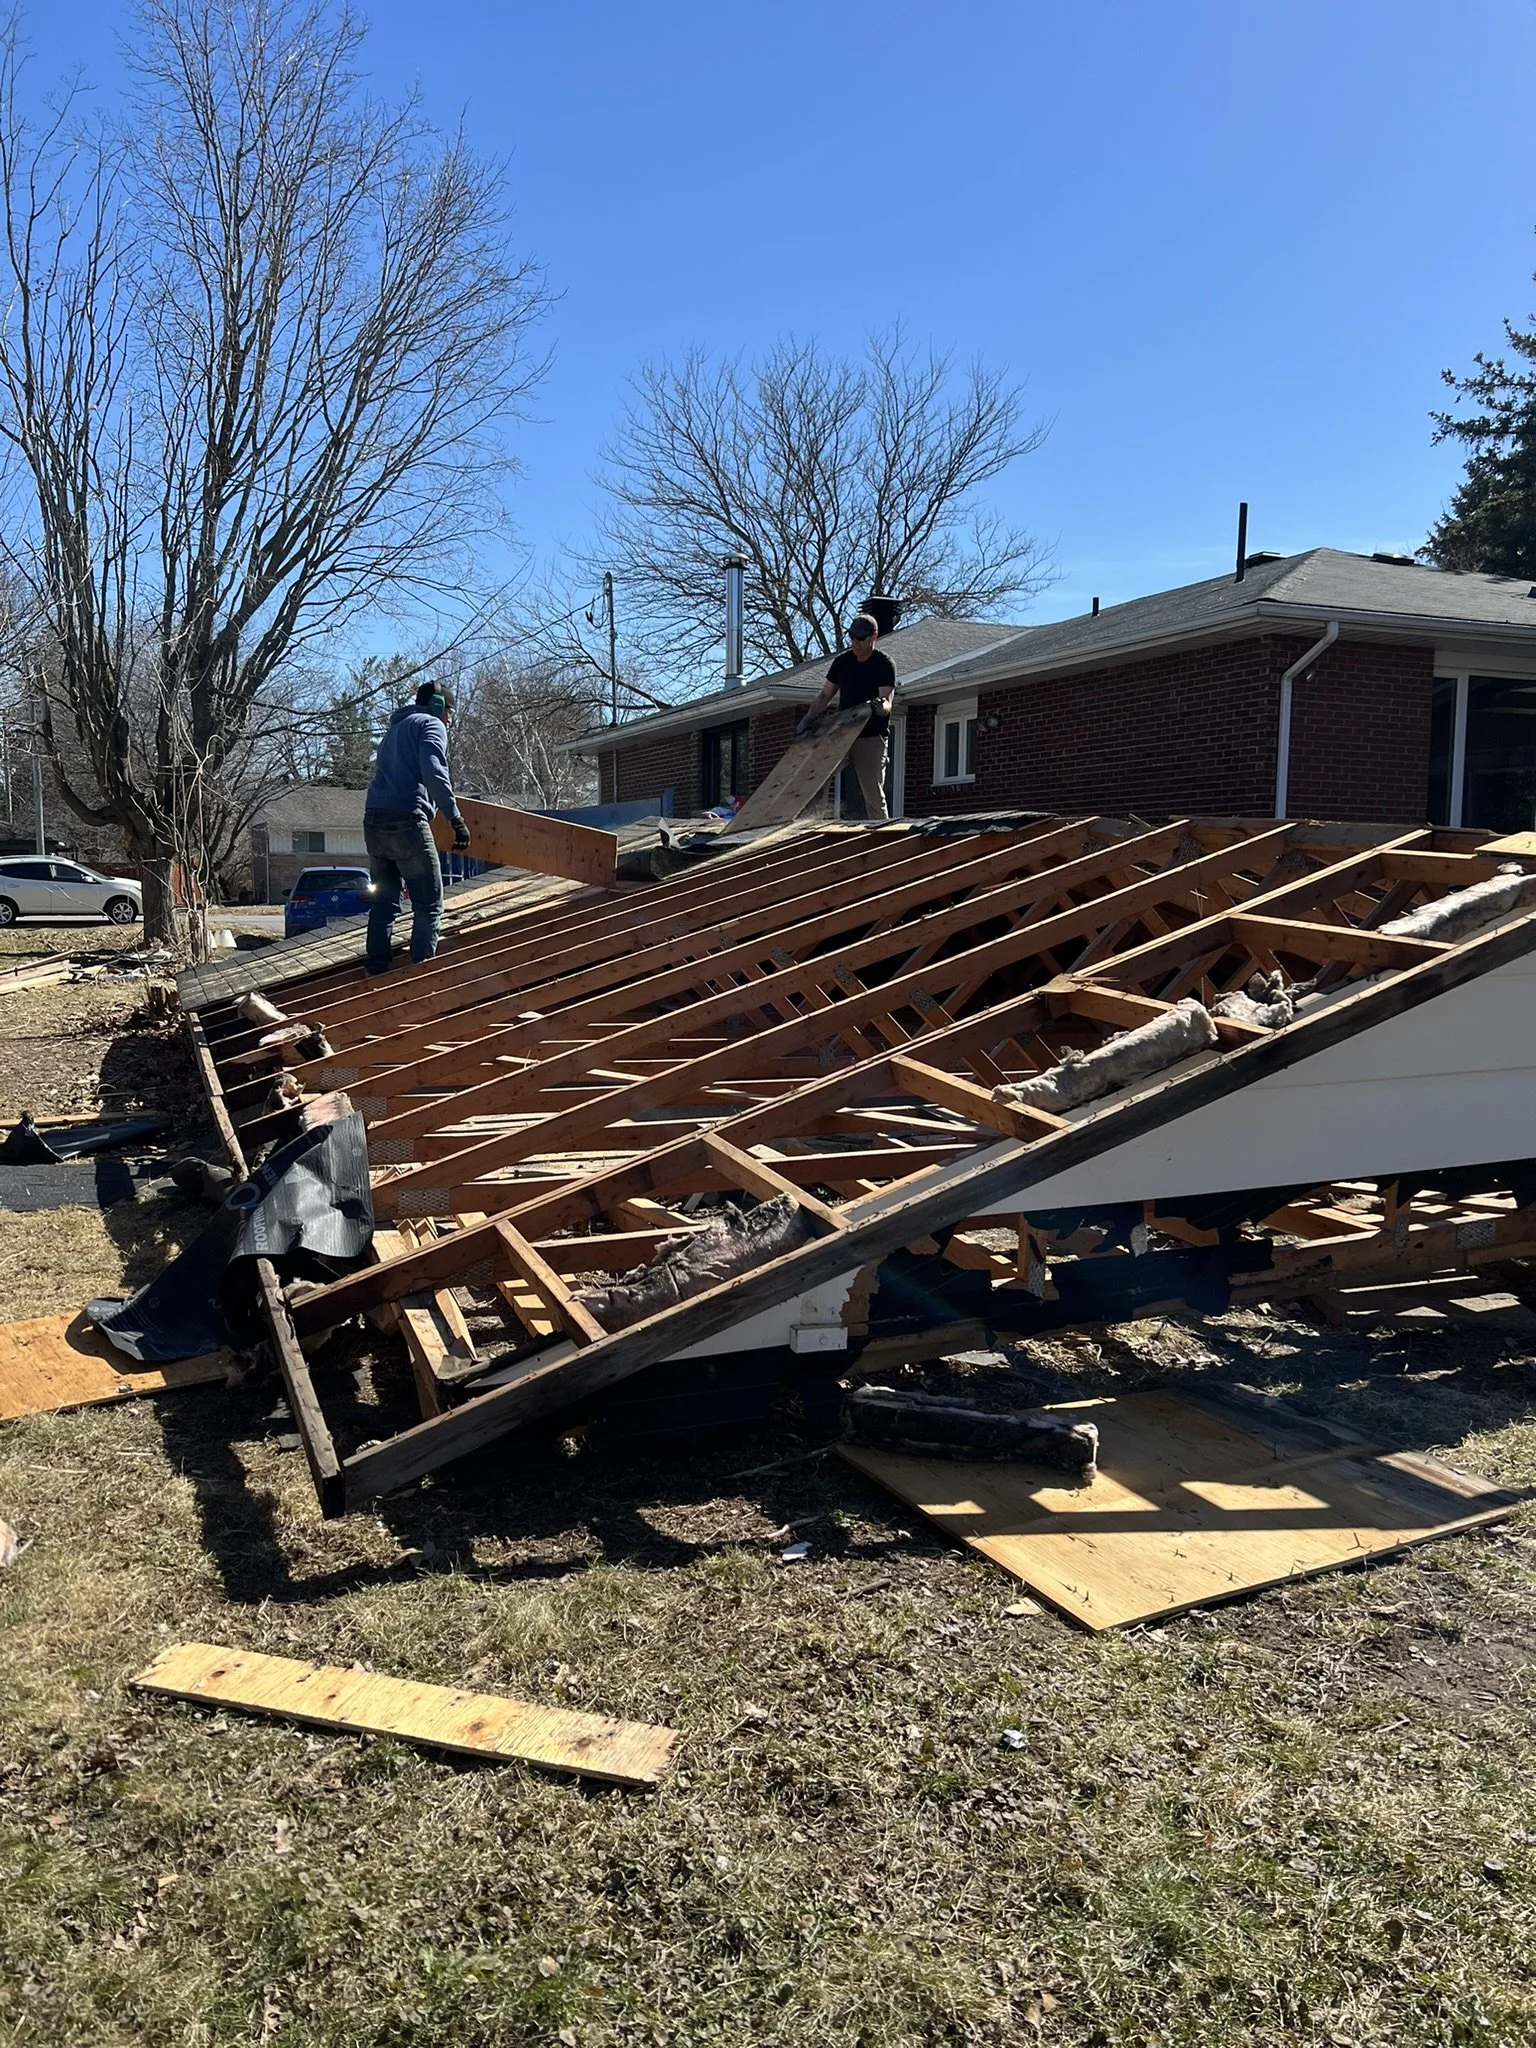
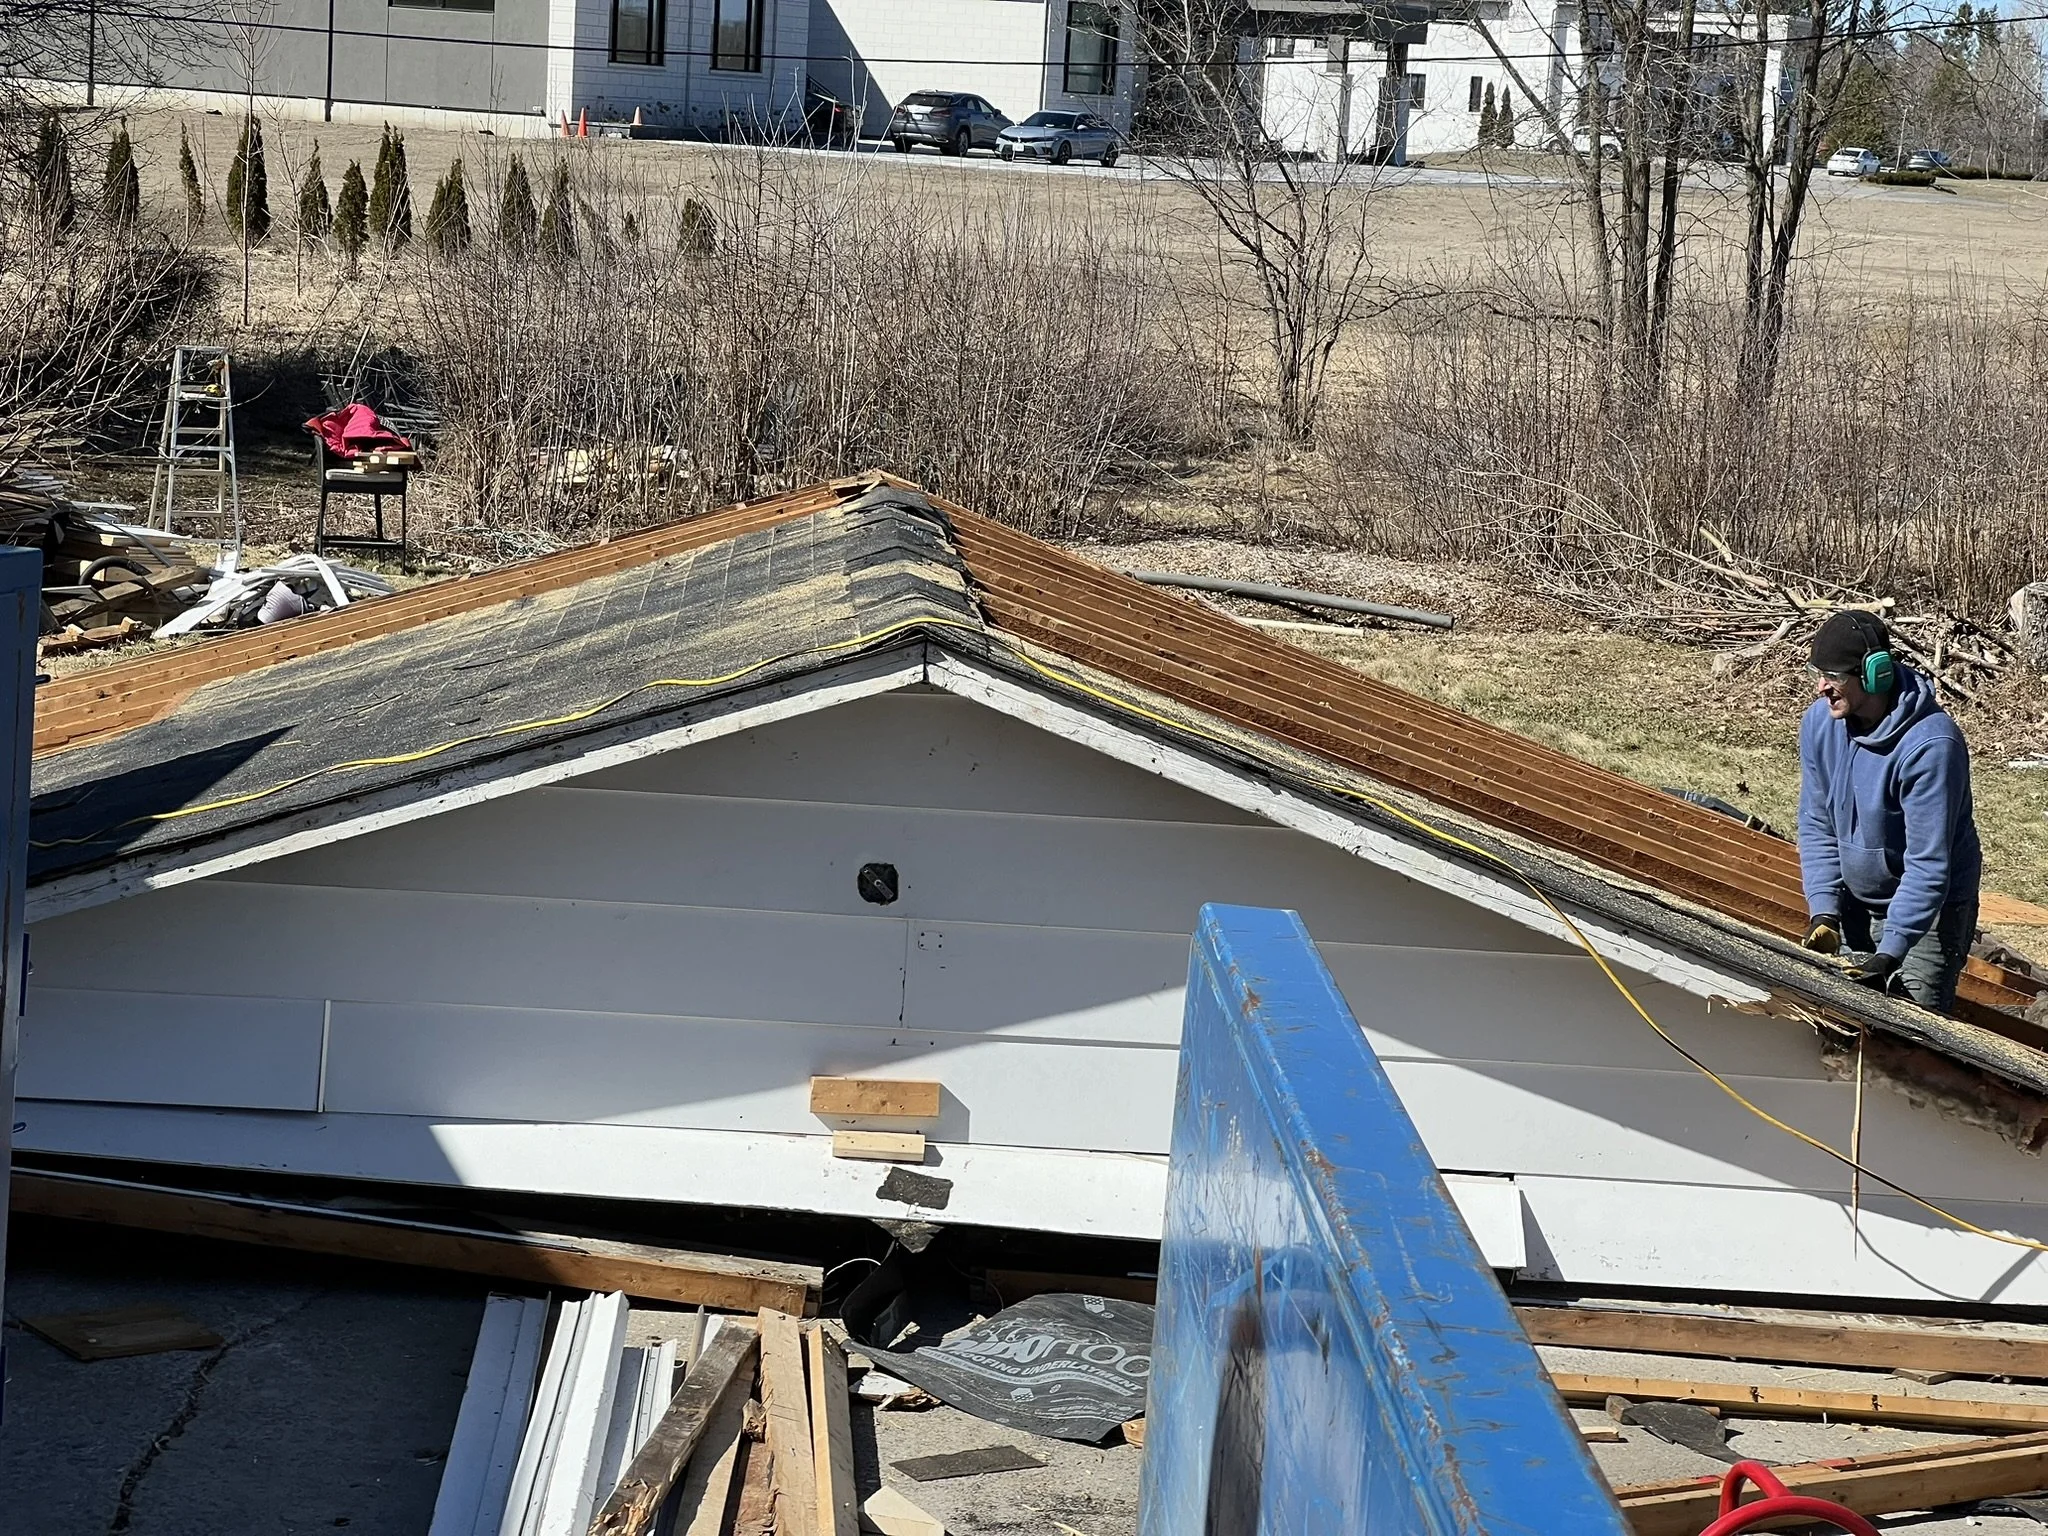
Sunroom Demo Day — all it needed was a good yank!
And yes, we lived through it all. There were days I had to leave for work in a nice dress, navigating a pit of mud with only a narrow strip of land and overgrown bushes to cross. One memorable night, Chris had to climb out a window to go to hockey because we were completely trapped — pits in the front AND back. But hey — living here saved us money, and we’re not afraid of a little sacrifice.
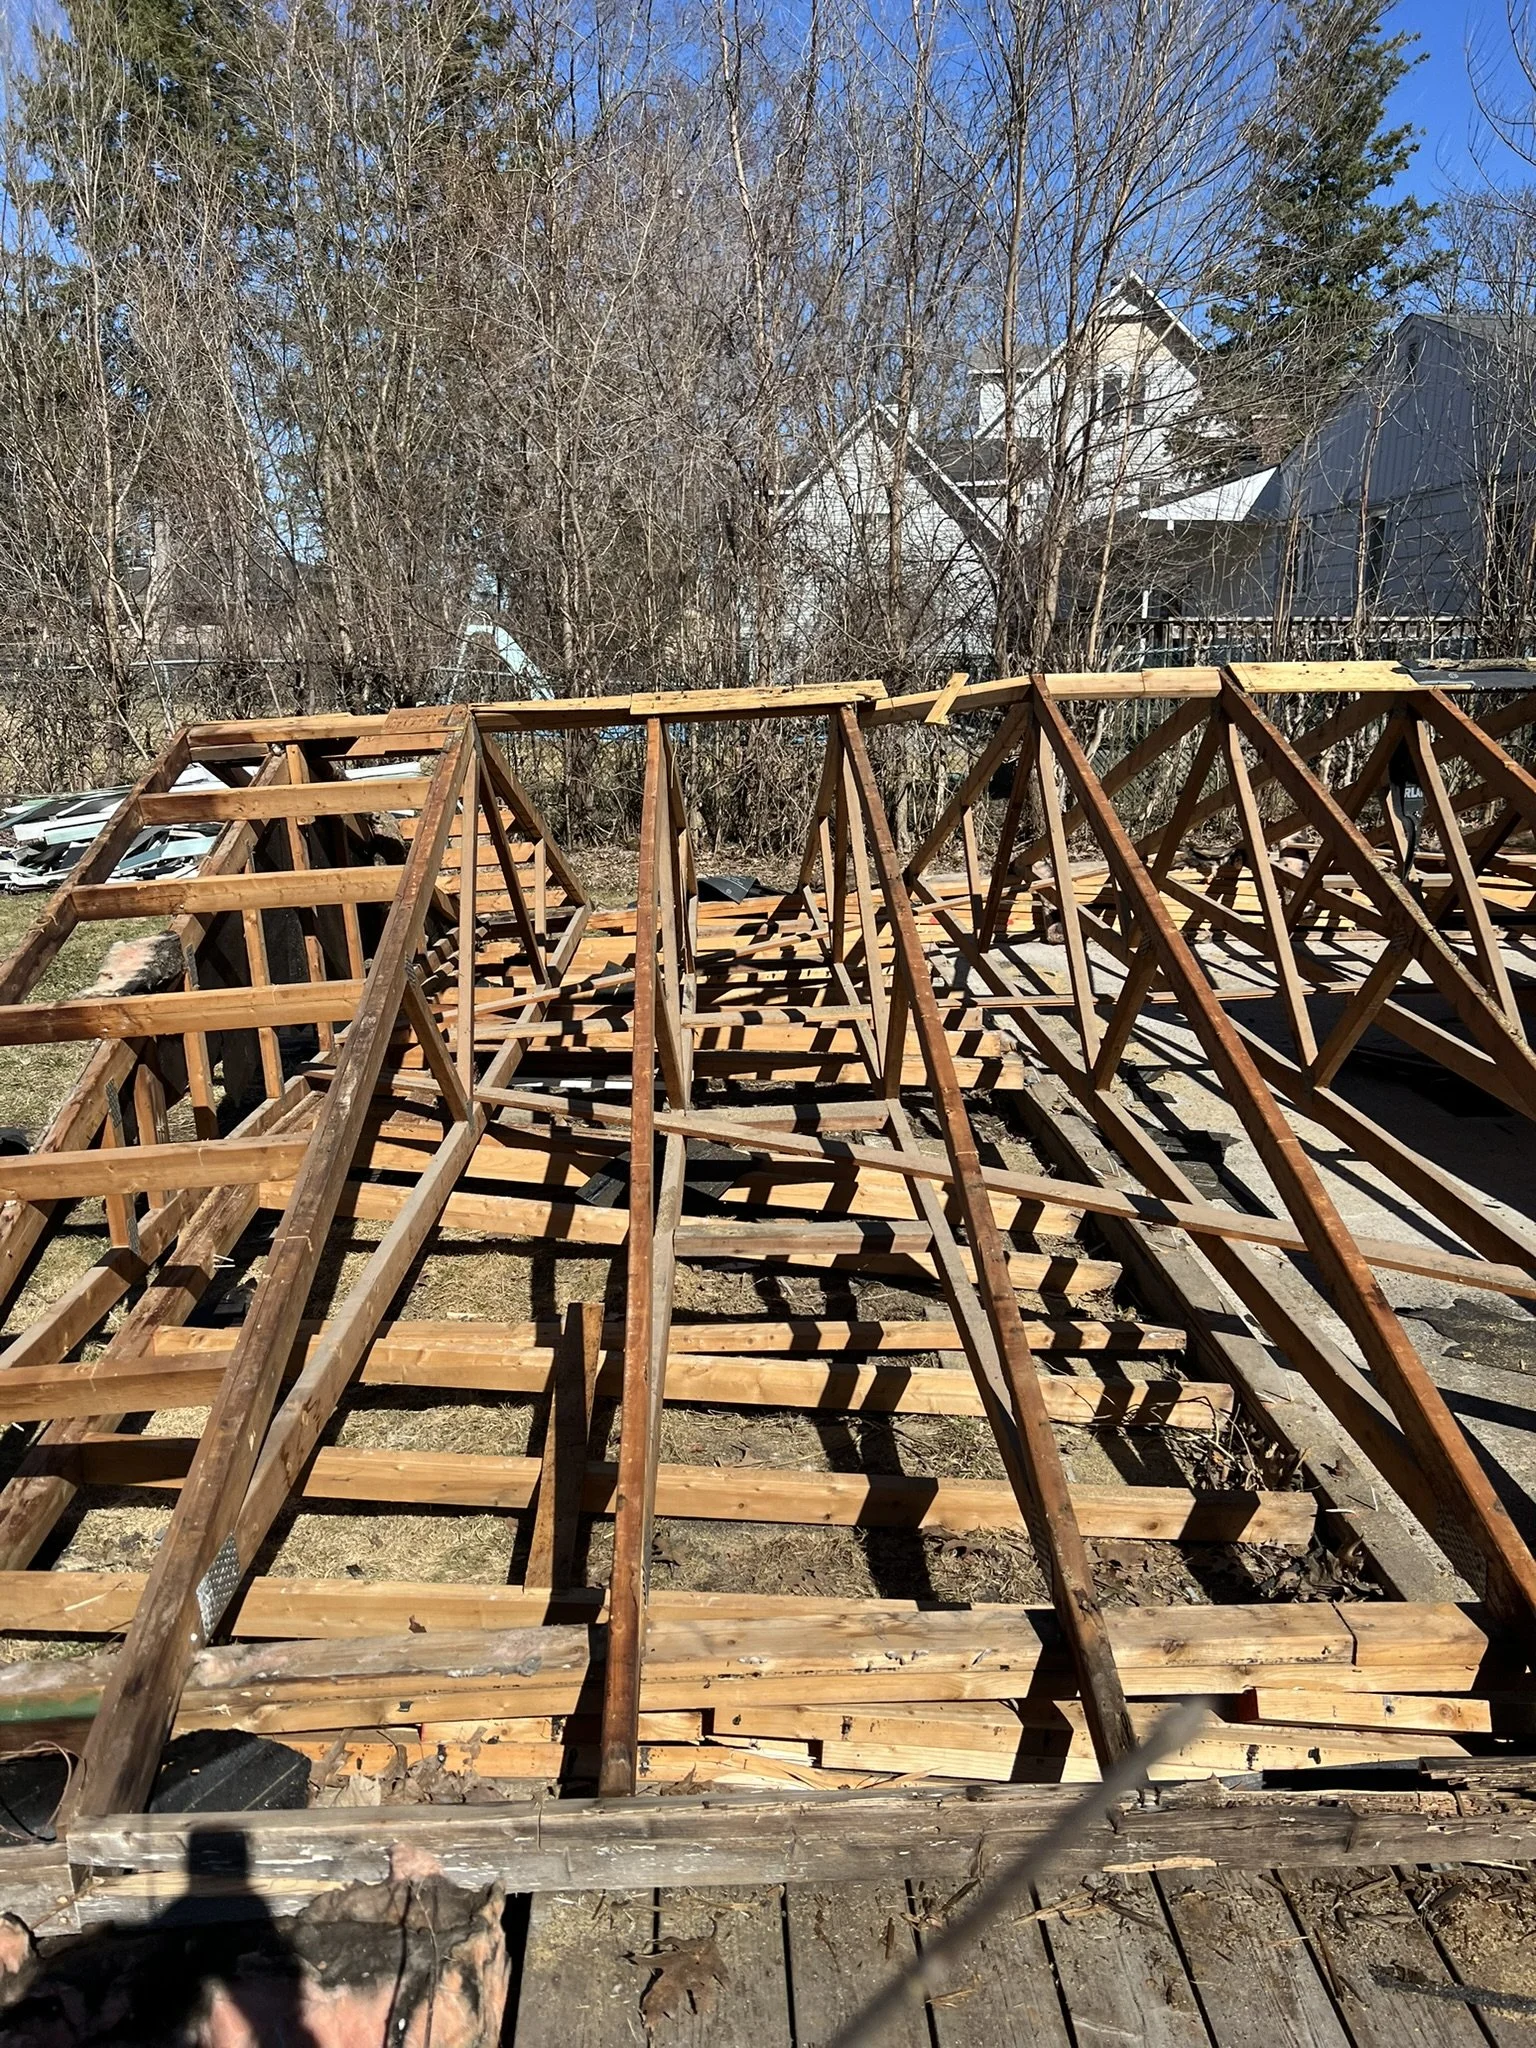
Demo Surprises (And Why We're So Glad We Tore Things Down)
The garage was missing all its cross bracing. Yes, you do actually need that — turns out someone cut it all out at some point.
The sunroom? A disaster. Missing structural posts, no headers over doors/windows, carpenter ant infestation, water damage, and a deck that looked like the worst DIY job I’d ever seen. Also, there had been a squirrel tenant — though luckily, they’d moved out just before we moved in with sledgehammers.

Sunroom surprises — this was NOT a space we could have safely kept.
Ewwwwwwww carpenter ants!!! Good thing we decided the sunroom had to go.
Garage — stripped of her “structural cladding”
Lessons Learned (So Far)
Be ready for the unexpected — both in the project scope and in what you find behind the walls.
Invest in good tools — they will save you time, effort, and frustration.
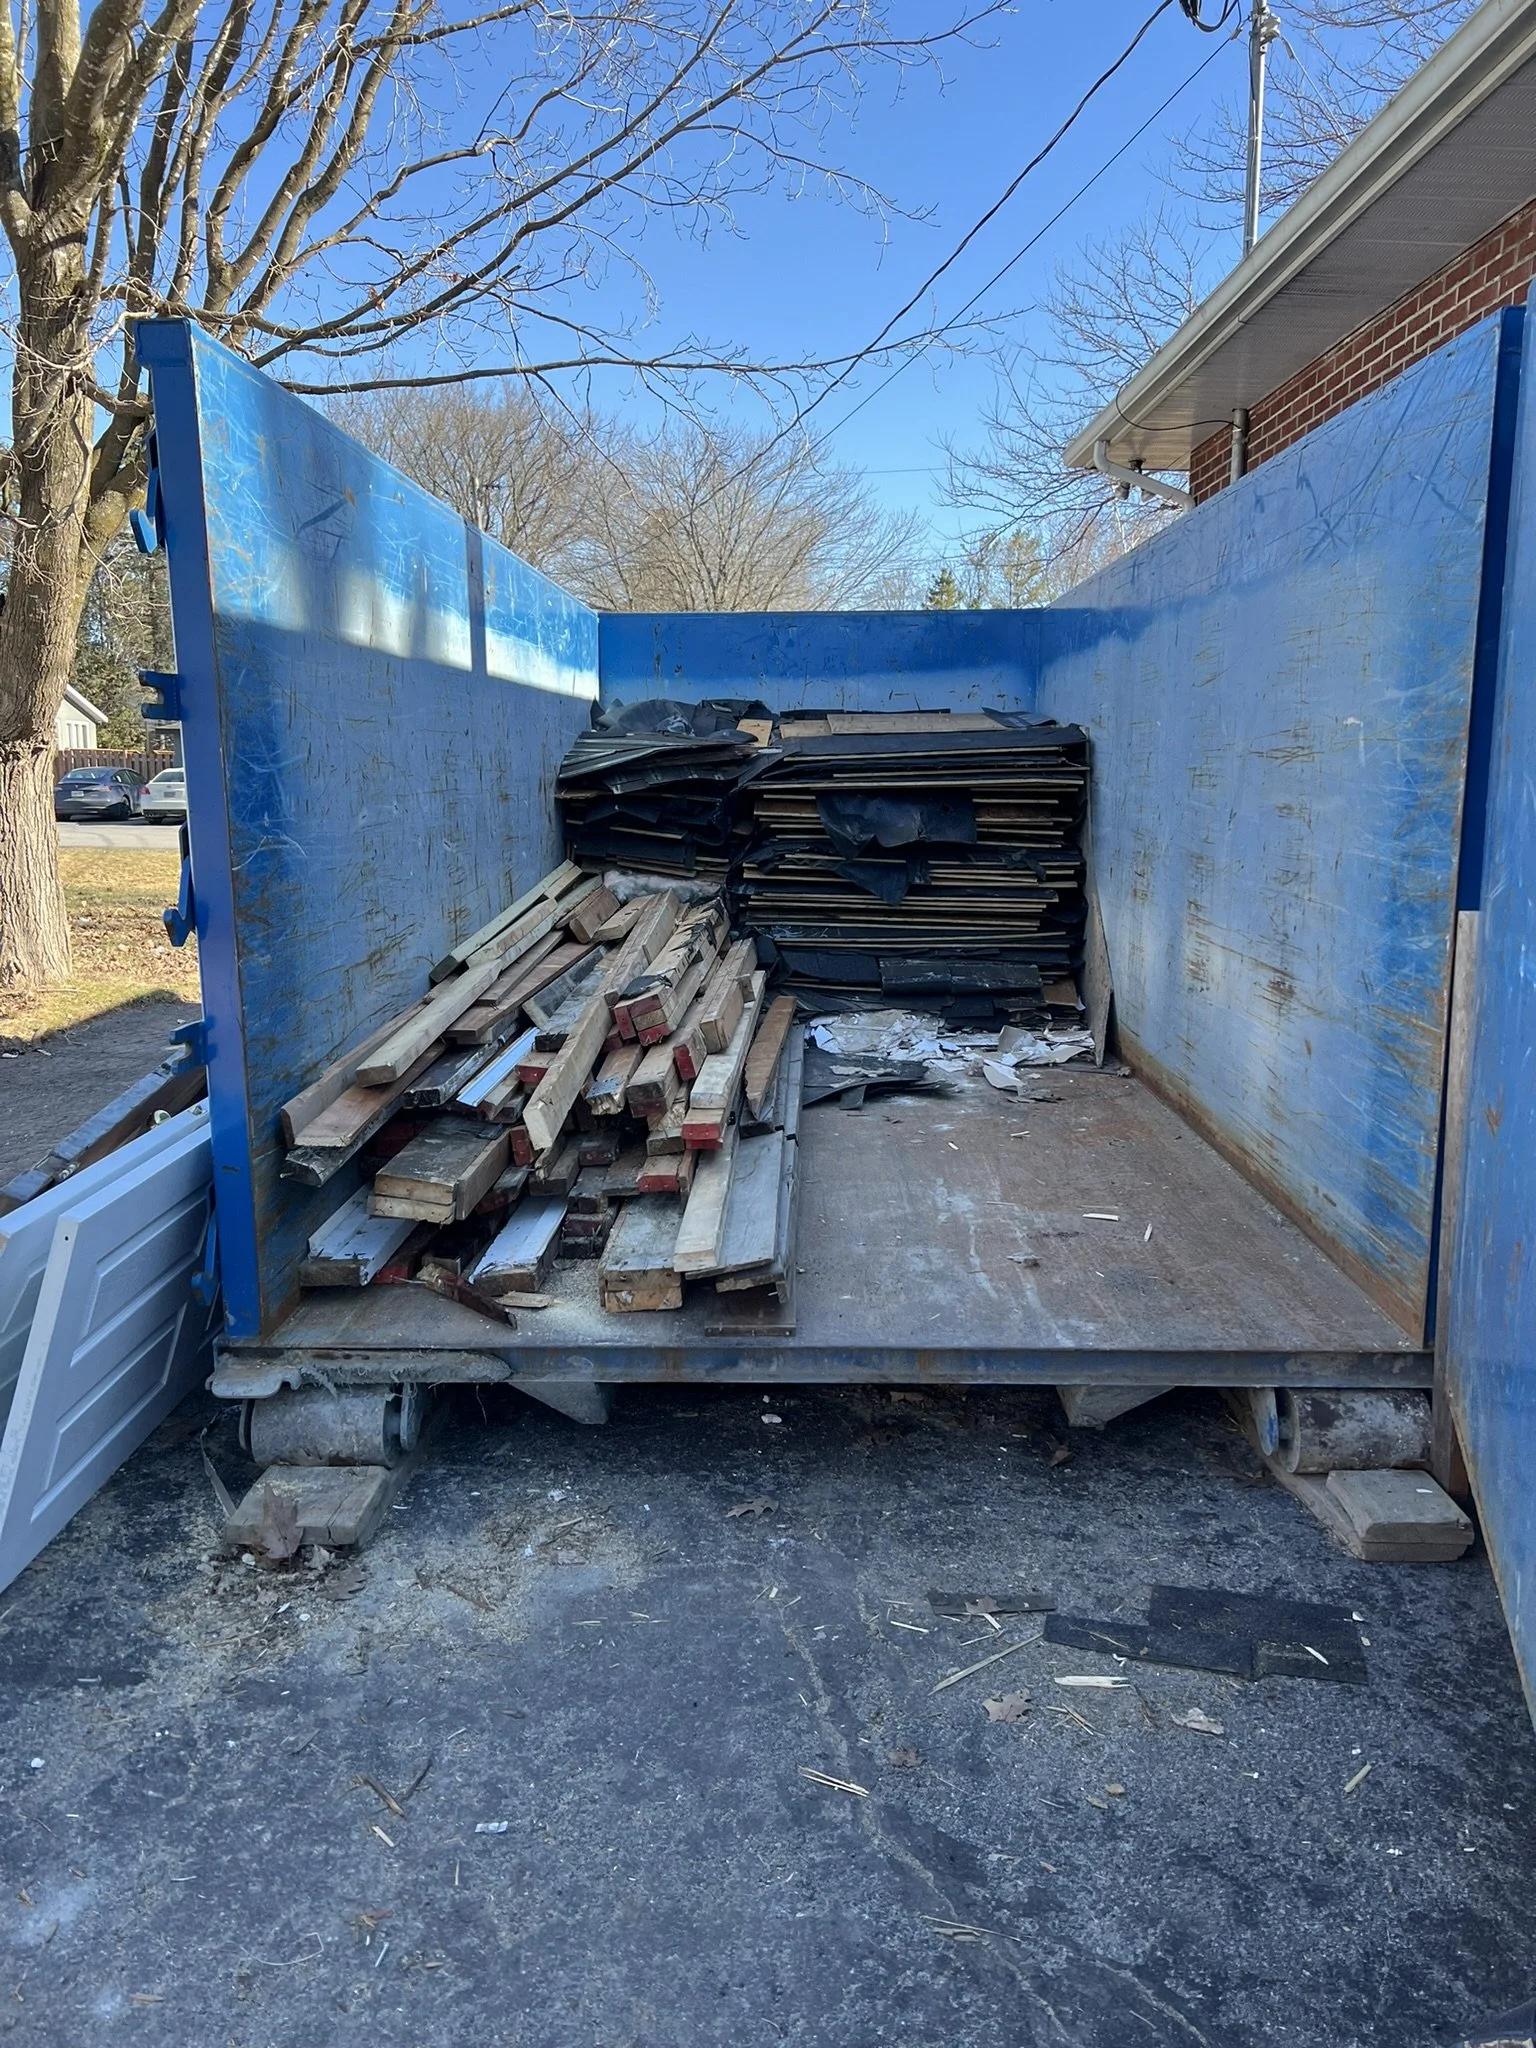
Have pizza on hand for your demo crew — and thank your family members who become expert dumpster-packers (shoutout to my dad for a Tetris-worthy bin stack!).


What’s Next?
In Part 2, I’ll share how we designed the new exterior, chose finishes, worked through tricky construction phases (spoiler: it wasn’t always smooth), and what it’s like GC-ing a major project while living in the house.
Stay tuned — and get ready for some behind-the-scenes lessons learned!